Welcome to Microsoft’s Windows Vista Ultimate Edition Install guide step by step on a new/blank hard drive. This guide will show you how to install Windows Vista. This install guide is fully graphical and will take you through each step of the installation. BY MAS BENDI TEKNOCARD JARDIKNAS KABUPATEN LUMAJANG
What you will require to do this walkthrough is
- A Windows Vista Ultimate Edition CD or DVD
- A Computer with CD-ROM or DVD-ROM access
- Bios set to boot of the CD/DVD-ROM drive. ( Check out this guide for help with the BIOS )
To start this Windows install insert the first CD or the DVD into the drive and start or restart your computer
Windows automatically run as the hard drive is blank, and will load files, this may take some time so be patient.
Windows Vista install loding file
Some of these stages can take quite sometime so be patient.

Now select your install Language,
LALU TEKAN NEXT
SETINGAN DI BUAT DEFAULT AJA DI ATAS CUMAN CONTOH! TEKAN NEXT
TEKAN NEXT TUK MELANJUTKAN MENGINSTAL
KLIK KIRI DENGAN MOUSE 1X PADA INSTAL NOW

This section is the collecting information part. First you will need your Windows “Product Key”. This will be on the disk packaging provided with your CD’s/DVD’s. The product key will be 25 digits long and will contain letters and numbers.

CEKLIST PADA AUTOMATCALLY ACTIVATE WINDOWS WHEN I’M ONLINE DIHILANGKAN LALU TEKAN NEXT DENGAN MOUSE

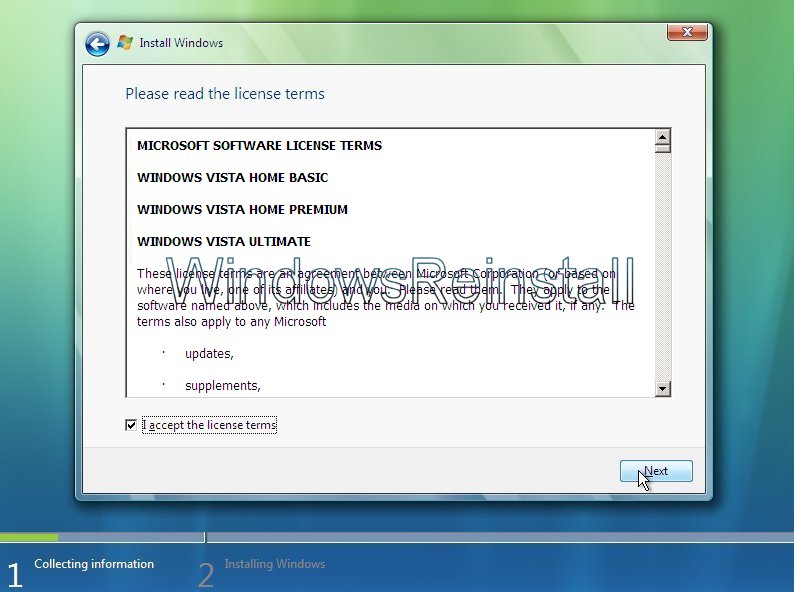
MASUKKAN PRODUC KEY
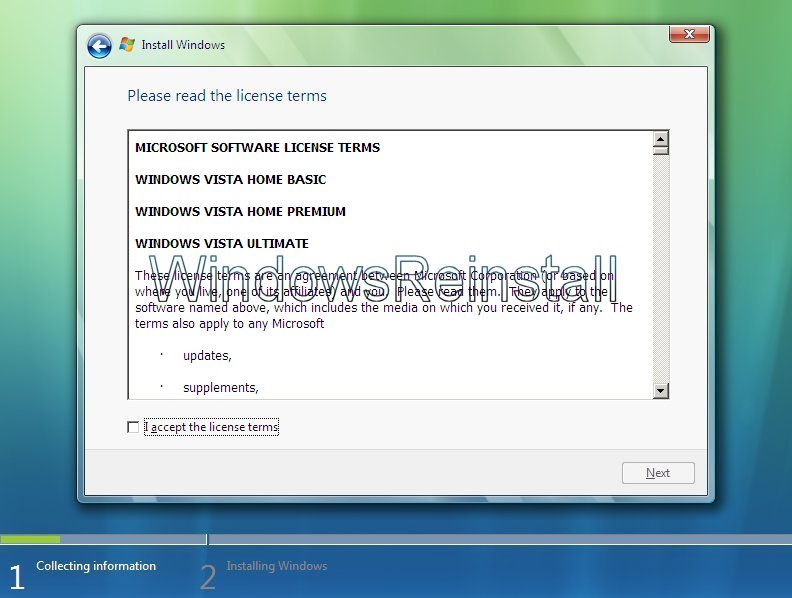
BERI CEKLIST DENGAN KLIK KIRI 1X DENGAN MOUSE DI I ACCEPT THE LINCES TERMS LALU KILIK NEXT
Now you will asked the type of installation you wish to do. Click on “Custom” to continue.
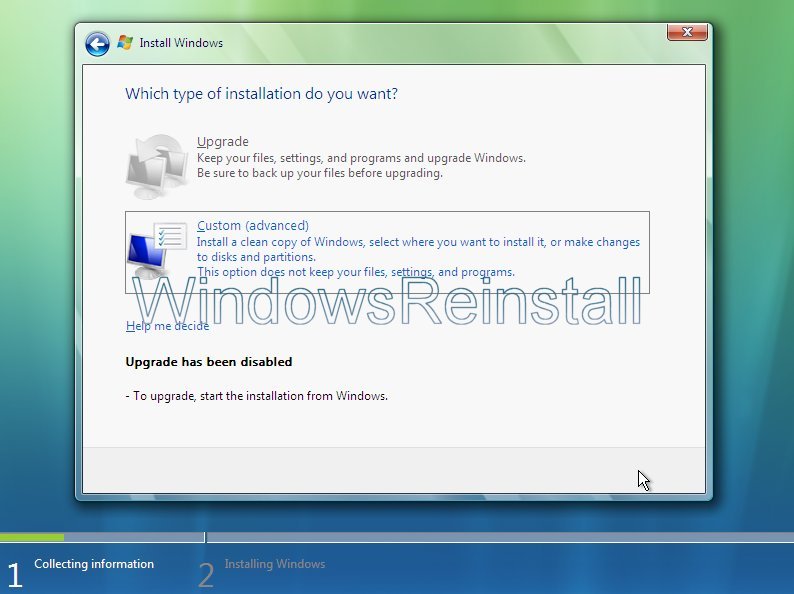
SETELAH TAMPIL GAMBAR DI ATAS PILIH COSTUM ADVANCED
To setup the harddrive, click on “NEW”

Select the amount of size you wish to use and click on “APPLY”.
It will take a few moments to apply the settings.
Once done, click on “FORMAT” to format the drive.
You will receive a warning, click “OK” to continue, as all info will be permanently deleted.

Windows is now formating the drive, this may take a few moments so be patient.
Once done click on “NEXT” to continue.

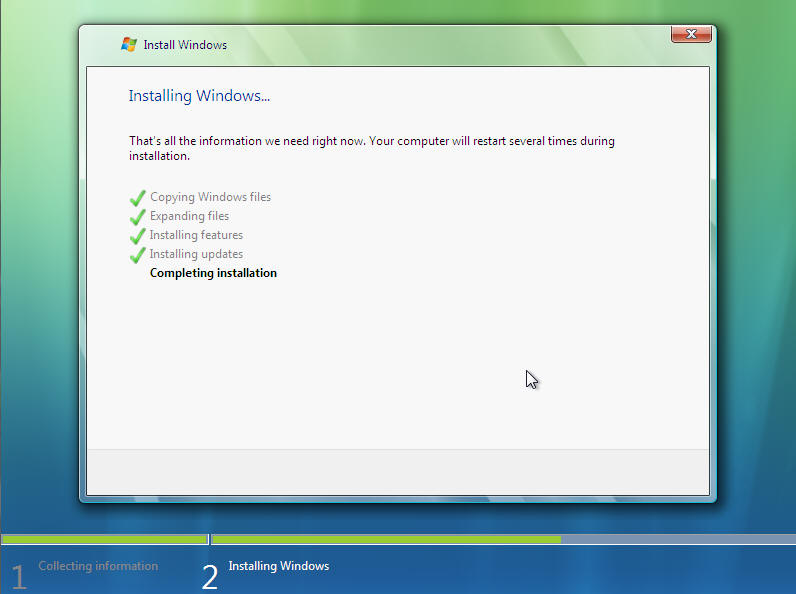
This section is for installing Windows, it will take sometime and does not require any input from you, so go make a cup of tea or watch TV as it may take up to an hour. Make sure there are no disks in your floppy drive, as the computer will reboot a few times during this process.
Windows now copies files:
Windows expands the files:

Windows is installing features:
Windows is installing updates:

Windows is doing a restart: It will do this automatically if you are not about, otherwise you can click “Restart Now” to speedthings up slightly.
The computer reboots:

If you get this message then you have left the a floppy disk in the floppy drive or your harddrive is not in the BIOS boot sequence correctly. Remove disk or fix BIOS then press “Any Key” to continue.

You may also get this message “Press any key to boot from CD or DVD..”, do not press and key and allow this to pass.

Windows continues Loading:
Windows is now booting for the first time, don’t be fooled there could still be a few reboots and quite a bit of installing to go.
Windows continues to install:

Windows does more updating and installing:
Windows reboots a few more times:
and then finally:

Something to do.
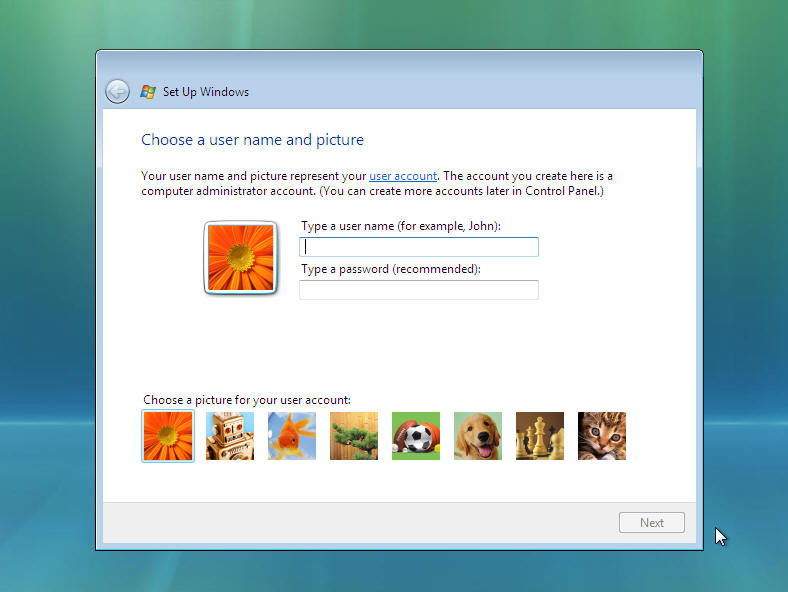
Next Input your Username for the computers Administrator account. Then Click on Password.
Now input your password (One you will remember) and then retype the password to confirm. Also type in a password hint that would help you remember it just in case. You may also change the default local login image by clicking on a different picture.
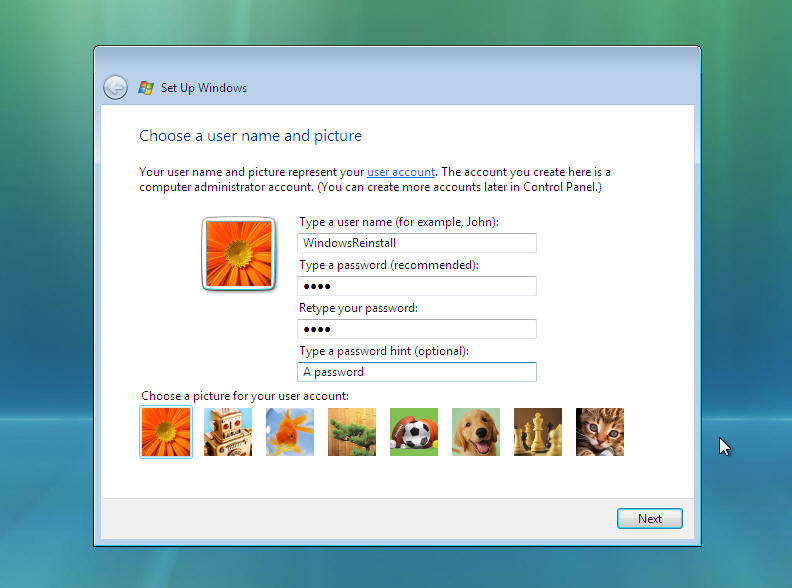
If you change the image it will change as per below. Once done click “NEXT” to continue.

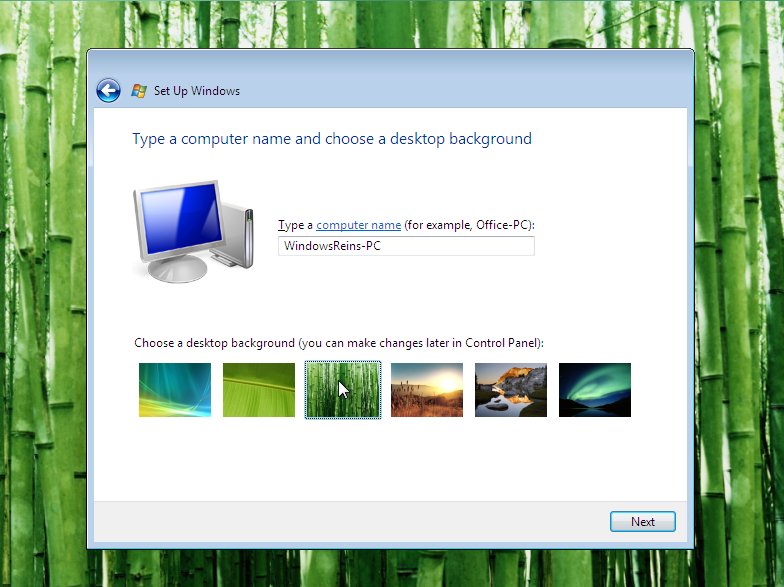
Now choose a computer name (Mainly used for ID on a network), and select a different background image if you wish.
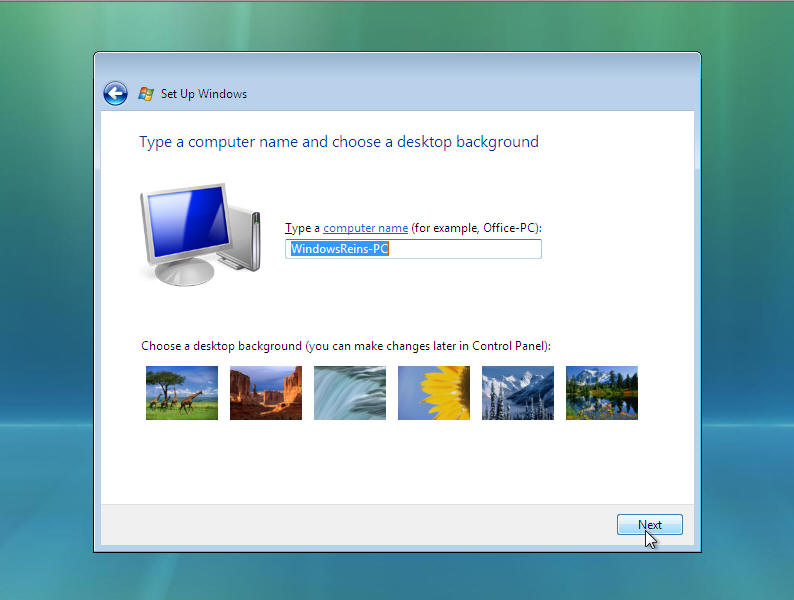
If you change the background it will change as per below. Click “NEXT” to continue.
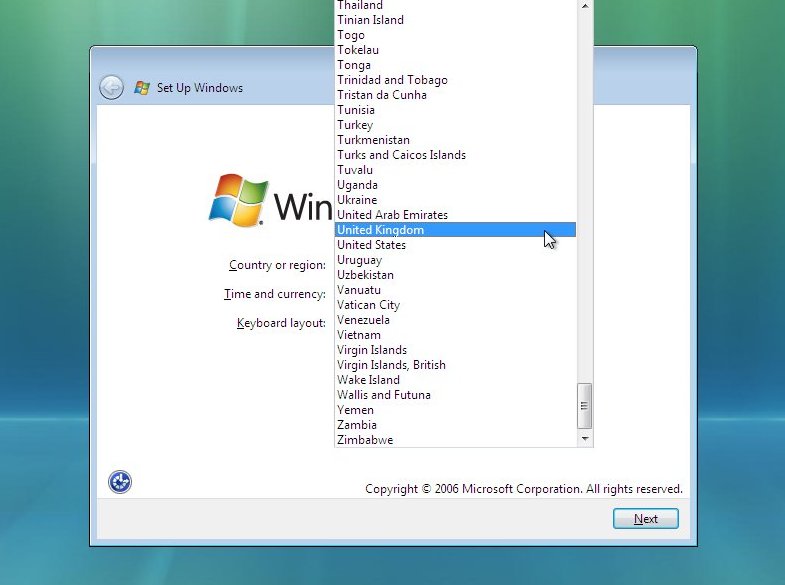
Next you need to check the time zone is correct and also the time and date. Time and date in from the BIOS, but “Time Zone” needs to be set, it will defaulted to the most common language location used by your default language as set earlier. Click the “Down arrow” at the end of the box.
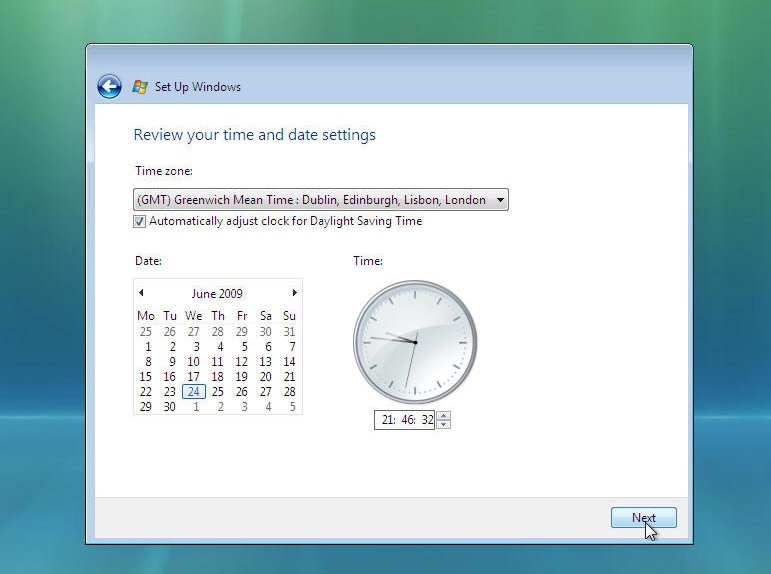
Now select your “Time Zone”. Once you are happy with your selection click on “NEXT” to continue
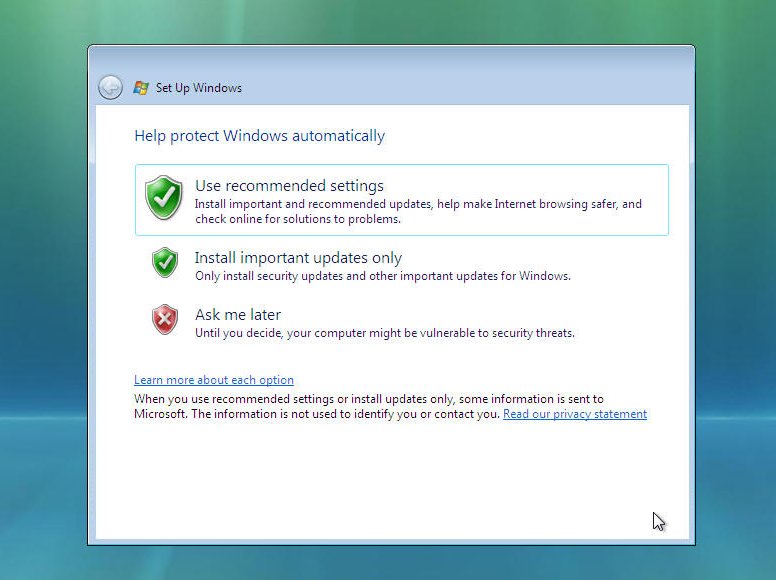
Now select your Windows protection method. We recommend the top option “Use Recommended settings”, click on your selection to continue.
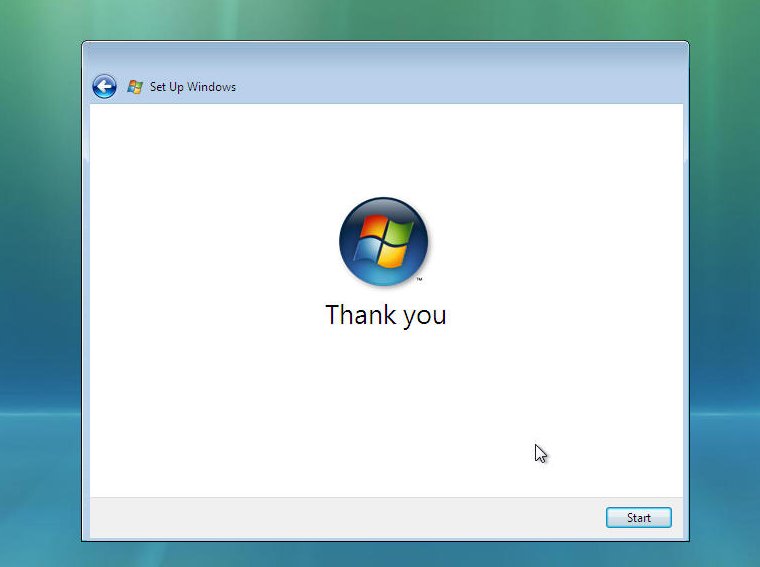
That is all the information gathered that is needed, Windows Install will thank you, click on “START” to continue….
and begin to load.
and load….

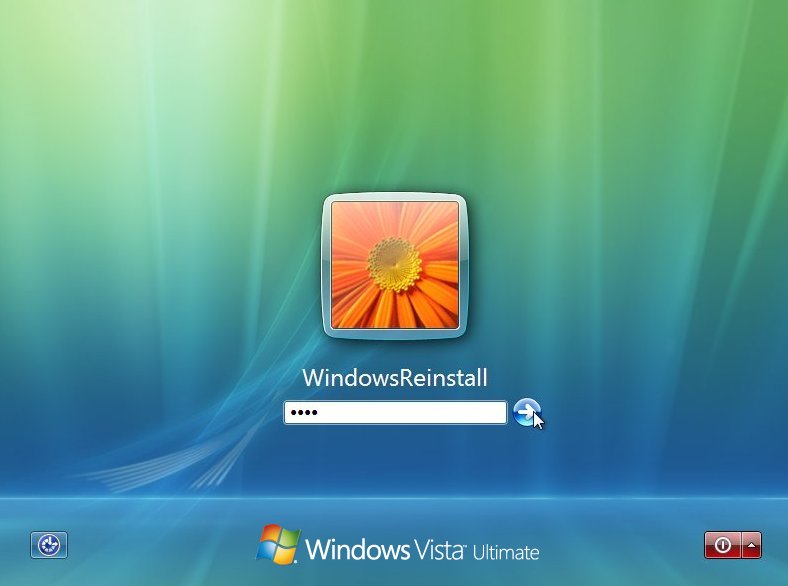
Now the Windows “LOGIN” screen. Type in your password and click on the arrow (Or press “ENTER”) to continue.
Windows “WELCOMES” you….
Windows now “PREPARES THE DESKTOP”
Windows desktop appears and the stages of the install begin.

Several personalised settings will be installed.
The desktop will soon appear.
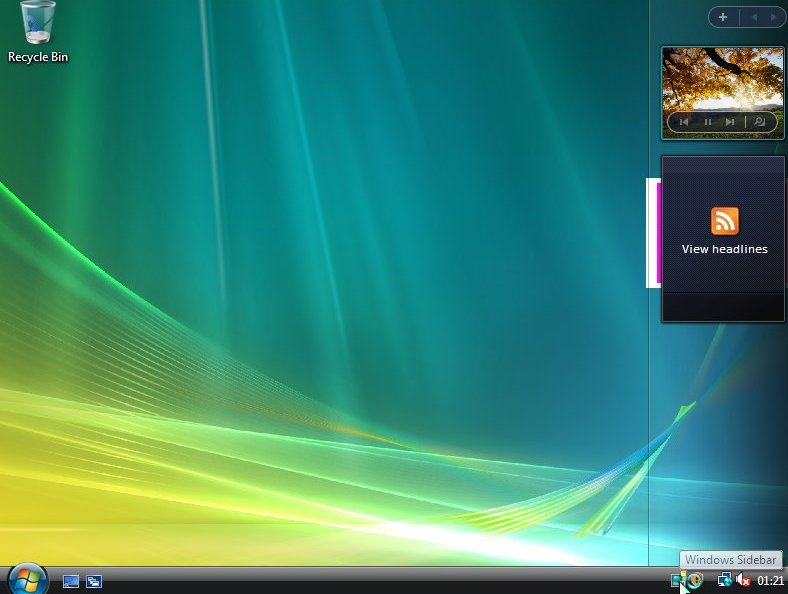
It is time to check your drivers and install all other software that you will require.
TIP: Usually running “Windows Update” will install most if not all missing drivers
THE END
Seperti halnya Windows XP aau Windows versi lainnya, proses instalasinya sangat mudah. Begitu juga dengan Windows Vista. Proses instalasi Windows Vista jauh lebih mudah. Pada proses instalasi ini Anda bisa langsung melakukan boot dari DVD dan langsung memformat harddisk Anda, kemudian proses instalasi terus dilaksanakan. Anda juga bisa dengan cara mengupgrade apabila sebelumnya sudah menggunakan Windows versi sebelumnya, misalnya Windows XP Professional.

Kalau proses instalasi dengan cara mengupgrade maka setelah Anda memasukkan master Windows Vista ke dalam drive DVD atau CD, maka segera tampil pilihan untuk melakukan instalasi. Dalam hal ini Anda tinggal menekan tombol Instal Now.
Selanjutnya dari tayangan tersebut Anda tinggal menunggu sehingga proses instalasi langsung dilaksanakan. Pada saat instalasi ini Anda hanya sesekali menekan tombol Next dan memasukkan CD-Key yang Anda miliki. Setelah proses instalasi selesai Anda diminta untuk melakukan activasi melalui Internet. Setelah melakukan activasi Windows Vista sudah siap digunakan.
Publish
Menjalankan WIndows Vista
Untuk memulai Microsoft Windows Vista tekan tombol power di komputer dan di monitor. Setelah itu biarkan program bekerja. Tampilan awal sebelum Anda melakukan perubahan, Windows Vista akan menampilkan Welcome Center. Tampilan ini menjelaskan dan menampilkan hardware dan system yang Anda gunakan. Selain itu pada tampilan ini menampilkan fasilitas apabila Anda akan menambah hardware baru berupa Setup Device, fasilitas untuk menambah Account baru dan fasilitas untuk Transfer file dan setting.
- Untuk mengetahui beberapa fasilitas yang disediakan Microsoft Windows Vista terutama yang berhubungan dengan multimedia Anda bisa menjalankan Media Center. Langkah yang harus Anda lakukan adalah sebagai berikut:
- Klik Start
- Klik Media Center
- Klik Next untuk melanjutkan setup Media Center
- Klik lagi Next
- Kalau computer Anda memiliki koneksi Wireles Anda piloih Yes, tetapi kalau tidak pilih No lalu klik Next untuk melanjutkan
- Pada tampilan Internet Connection dan “Always on” Internet Connection” Anda pilih Yes atau No tergantung koneksi Internet yang Anda gunakan
- Klik Next untuk melanjutkan
- Pilih salah satu koneksi yang tampil, misalnya Internet, Internet Media Center atau lainnya
- Klik Next untuk melanjutkan
- Pada tampilan Enter Your DialUp Password, maskkan password Anda di kolom password, misalnya admin001
- Ketikkan sekali lagi password Anda, mialnya admin001
- Klik Next untuk melanjutkan
- Klik Test untuk mencoba sambungan koneksi. Jika tidak ada koneksi maka komputer akan
Catatan: Untuk memanfaatkan fasilitas ini sebaiknya computer Anda terkoneksi ke jaringan Internet. Namun demikian Anda juga tetap bisa memanfaatkan fasilitas ini walaupun tidak terkoneksi hanya sangat terbatas.
- Jika komputer Anda tidak terkoneksi ke jaringan Internet,maka akan tampil pernyataan DialUp failed.
- Klik saja Next untuk melanjutkan
- Klik lagi Next
- Kemudian pada tampilan Help Improve Media Center Anda pilih No Thank You, lalu klik Next lagi
- Klik Yes
- Klik Next, dan klik Next lagi
- Klik I’m finished dan klik Next
- Lalu klik Finish untuk mengakhirinya
Mengakhiri Windows Vista
Untuk mengakhiri Microsoft Windows Vista prosedur yang harus Anda lakukan adalah sebagai berikut:
- Klik Start.
- Klik salah satu pilihan yang tersedia
- Dalam keadaan ini ada tiga pilihan yang akan ditampilkan program, Switch User, Log Off, Lock, Shut
Read More...